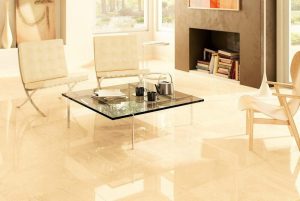
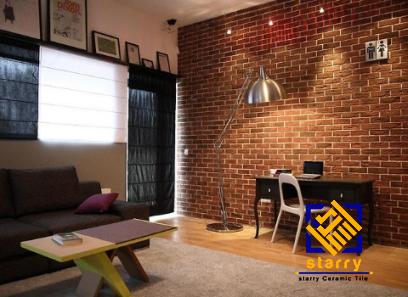
Glazed porcelain tiles with their elegant texture and different uses are ideal for interior use and will enhance the appearance of your home. The owners can easily repair them and they are great for use in kitchens, bathrooms, and even laundry rooms that are immaculate. Due to the glazing process, these tiles are available in a range of colors, allowing you to create virtually any desired aesthetic. Feel free to be creative.
Glazed tiles are also frequently used as kitchen backsplashes, allowing you to choose a color scheme that complements the area’s design. Glazed tiles are resilient and can endure whatever the kitchen may throw at them due to their scratch resistance. In response to market demand, ceramic and porcelain manufacturers have produced tiles with stone-like textures, colors, and patterns.
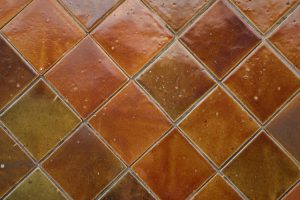
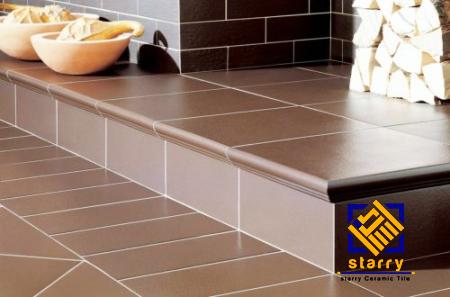
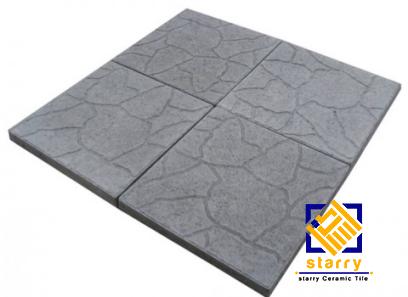
Slate, travertine, and marble are examples of popular ceramic and porcelain tile types. Tiles may be made with thick textures, chiseled and hammered edges, and even resemble tumbling stones to improve the natural appearance. The style of ceramic tile is dependent on its texture. A ceramic tile that resembles a tumbling stone or slate will have an irregular and slightly gritty texture. In contrast, a marble or granite tile will have an extremely polished, smooth texture.
Textures vary in both brightness and texture, ranging from dull to semi-gloss to glass-like. Some high-gloss tiles have an acid-sensitive and scratch-prone coating. When adequately diluted, phosphoric acid is often safe. The surface will become dull and textured if the acid is excessively caustic.
Scratching it with a brush can make it seem dull and scraped. In any event, there is little you can do other than repair the tiles. Regarding the type of tile body and the condition of the glaze, you can highlight it with a sealer or something else, but all you can do is try cautiously.
glazed tile repair
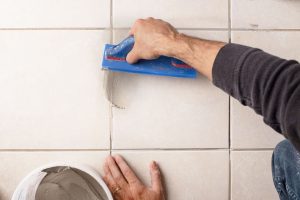
Glazed tiles that are dull or damaged significantly diminish the brightness of bathrooms and kitchens. To repair the luster of the tile, use synthetic glazes that match the finish, which is included in tile-resurfacing kits. Typically, these kits are meant for ceramic and porcelain wall and floor tiling. Read and adhere to all cautions and instructions provided by the manufacturer since, although most resurfacing kits involve the same basic procedure, the specifics may vary.
A tile resurfacing kit is available at home improvement retailers. Match the kit to the kind and finish of your tile. Some kits, for instance, are designed for matte, satin, or speckled finishes. Use a kit for glossy finishes to restore the luster of tile glaze.
Use a non-abrasive cleaner, such as a vinegar and water solution to clean the surface. Sandpaper with a fine grit can be used to remove any loose paint or encrusted residue. The mildew may be eliminated using bleach and water. Remove any metal surfaces, such as drains from the work area, or tape over their edges. Rinse the tile well after using an abrasive pad to clean it, and then complete drying is required.
Mix each of the solutions included in the package. Add the activator to the base (both of which should be included in the package) according to the manufacturer’s instructions.
Typically, a varnish brush with fine bristles is included in the box for applying the compound to the surface.
Depending on the condition of the glass, up to four treatments may be required.
Allow the resurfacing solution to cure for at least 48 hours, or as indicated by the manufacturer.
After the resurfacing solution has dried, clean the tile with a non-abrasive cleaner as usual.
glazed tiles cleaning tips
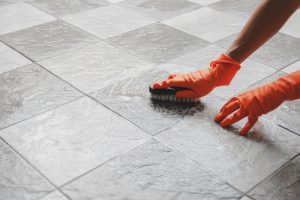
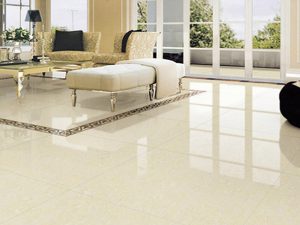
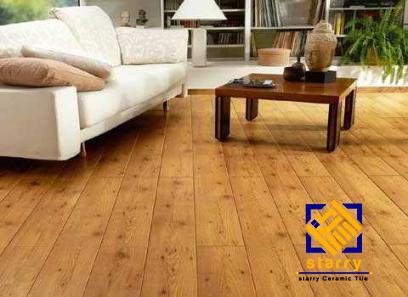
Glazed porcelain and ceramic tiles are categorized as the flooring materials that are the easiest to clean. Here are some tips available for those who are going to clean their glazed tiles. Their impermeable glazes render their surfaces impenetrable to water, dirt, chemicals, oil, debris, and even germs and bacteria.
- Sweep or vacuum the floor to clean loose debris and dust prior to washing with water to avoid muddying the tile or leaving a residue after cleaning. On rough surfaces, sweep in many directions to ensure the elimination of any foreign material that may be present. On the wall surfaces, tile may be carefully removed with a clean, dry cloth or towel.
Mop the floor with a mild detergent, degreaser, or tile cleaning solution. A brush with medium bristles is appropriate for cleaning textured floors. Utilize a sponge to apply the cleaning solution to the wall surfaces.
Rinse the tile thoroughly with water to remove any leftover detergents.
- Dry with a clean cloth or rag to enhance the shine and avoid water stains or streaks.
To clean porcelain tile floors, never use ammonia or anything containing bleach or acid. The color and stability of grout may be altered by cleaners, including acids and ammonia.
- Use a cleaner with a neutral pH degree. This guarantees that grout and nearby surfaces will not be harmed while cleaning.
- Avoid using wax or oil-based cleaning products.
- Use rugs at entryways to prevent outdoor dirt and grit from being tracked onto tile floors. Tiles that are scratch-resistant are not scratch-proof.
- Don’t utilize steel wool or any other abrasive pads for removing stubborn debris or stains.
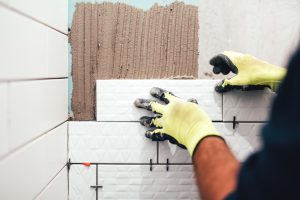
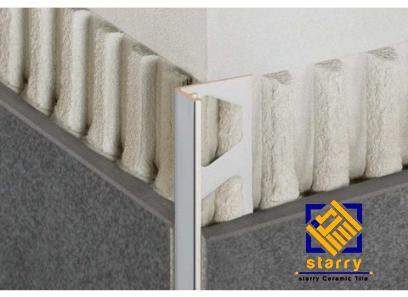
- Although glazed surfaces are impenetrable, the application of a grout release will aid in post-installation clean-up, particularly if the glazed surface has a rough texture where mortar, grout, and other construction debris can become trapped in grooves during and after installation.
how to make glazed tiles
Making your own glazed ceramic tiles may be enjoyable and satisfying if you enjoy working and knowing how to do that with your hands, especially if you want to use them in your own house or garden. The first step is, to begin with, a quality body of tile clay. This often refers to tiles having a high percentage of grog. Sculpture and Raku clays are frequently appropriate for tile production. Some persons swear by clay bodies comprised of both large and little grog.
You need a clay body that develops at the glaze firing temperature for durability and water resistance. This is especially crucial for outdoor and bathroom tiles. If the absorption rate after burning is below 3 percent, water will seep inside and cause the tiles to break. If waterproofness is not essential, under firing, the clay can sometimes be used to achieve flatness. If the clay is allowed to develop, a tile that has been twisted after the bisque fire will become flat after the glaze firing.
Low-fired, smooth-surfaced earthenware clay is frequently the worst clay for making tiles. Not only does it not completely vitrify, but the absence of grog might prove challenging. Due to the fact that they are unglazed and low-fired (unvitrified), they are easily soiled and must be sealed many times each year.
– Use the drywall method for the first two days, then move to wire racks.
– Wax the edges before they dry. This prevents them from drying out as rapidly as they are inside. Cover the edges with dry-cleaning plastic as an alternative.
– Weight the corners overnight with kiln posts (each stilt set over the neighboring corners of two tiles).
Remember that clay shrinks, and you must take this into consideration while making tiles. To determine the amount of clay’s shrinkage, score a 100-millimeter-long line into a piece of clay. Repeat the measurement in the bisque and high-fire phases. If the final length of the line is 90 mm, the shrinkage rate is 10%. If the final measurement is 87 millimeters, the shrinkage rate is 13%, and so forth. Remember to cut the tiles at the same level of dryness as the first row, as there is shrinkage between the wet and leather hard states.
glazed tiles advantages and disadvantages
There are many advantages and disadvantages to glazed and unglazed tiles. Here we will consider some of them.
Advantages
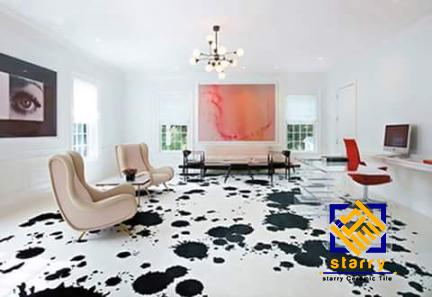
1-Glazed tile is ideal for use in kitchens and bathrooms, as it features vibrant color patterns, a variety of sizes and shapes, is easy to clean, is available in a wide variety, and is simple to maintain. On the surface of glazed tiles, which are more colorful and patterned than polished tiles, it is possible to create a variety of patterns and designs.
2-Glazed tiles offer a much better surface strength than unglazed tiles and may be utilized on both walls and floors. The primary advantage of glazed bricks over vitrified bricks is that they are impermeable and resistant to soiling.
The majority of glazed bricks have good slip resistance, and their surfaces can be baked with a variety of patterns. Even though glazed tiles have a somewhat lower wear resistance than vitrified tiles, certified products may certainly meet the needs of home applications.
3-Anti-leakage, smooth splicing, arbitrary shape, exceptional durability, minimal brittleness, and other characteristics.
4-Glazed tiles have a water absorption rate that exceeds 10 percent.
5-The quenching and heating resistance of glazed tiles refers to their capacity to withstand rapid temperature variations without cracking. The temperature difference between cold and hot utilized in the test is 130 °C.
6-Bending strength: the average bending strength of glazed bricks is at least 16MPa; when the brick’s thickness is more than or equal to 7.5mm, the average bending strength is at least 13MPa.
Disadvantages
1-Because of the glazed surface, the wear resistance is less than that of polished tiles.
2-During the firing process, pinholes, fractures, bends, and water ripple markings are commonly seen on the chromatic aberration.
3-Examine the water absorption rate; excellent bricks, presses, pressing density, firing temperature, and porcelain often result in a low water absorption rate.
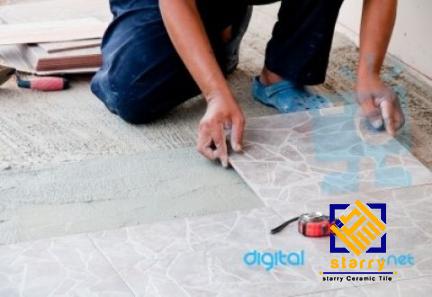
can you tile over glazed tiles
you can tile over glazed tiles, but Several considerations must be made prior to doing bathroom or kitchen remodel. Read the benefits and challenges before deciding whether or not to tile over old tiles.
Time savings is one of the primary advantages of tiling over existing tiles. This option will help you with the trouble of removing the old tiles, installing the new ones, and spending a considerable amount of time cleaning up afterward.
Low cost is another advantage of this method of renovation. It is less expensive because there is no need to rent expensive, potentially dangerous stripping machines.
Overall, this is a do-it-yourself-friendly method for sprucing up the bathroom or the kitchen. However, there are some factors to keep in mind before making your final decision.
Several disadvantages of using tiling over glazed tiles must be considered.
Adding new tiles on top of existing tiles will increase the floor height. This could become an issue if the elevated floor level begins to obstruct the doors or cabinets. Most likely, they have already been leveled with the original flooring.
A further disadvantage may be that the bathroom entrance step becomes excessively steep, creating an accident-prone area.
In order to retain moisture, if you plan to do it yourself, your existing tiles must be in very good condition – uniformly spaced and without cracks. The area will not be improved by tiling over broken or uneven tiles; rather, it will be subject to additional issues and potential repairs.
Your comment submitted.