Title: A Comprehensive Guide to Ceramic Tile Outdoor Purchase Price and Preparation Method Introduction: Ceramic tiles are an excellent choice for designing outdoor spaces due to their durability, versatility, and aesthetic appeal. Whether you are looking to create a stylish patio, a functional deck, or a stunning pathway, understanding the purchase price and necessary preparations for ceramic tile installation is crucial. This article will provide you with valuable information on how to determine the purchase price for ceramic tiles and guide you through the preparation process for a successful installation. Determining the Purchase Price for Ceramic Tiles: When selecting ceramic tiles for your outdoor projects, it is essential to consider factors that influence the purchase price. These factors include: 1. Material Quality: Ceramic tiles range in price depending on their quality. High-quality tiles tend to be more expensive but are more durable and resistant to the elements, making them a better long-term investment.
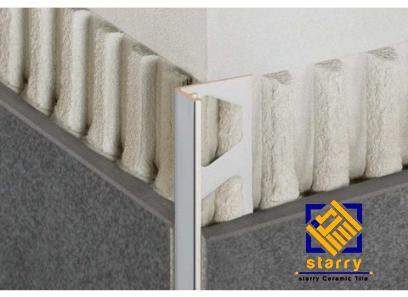
ceramic tile
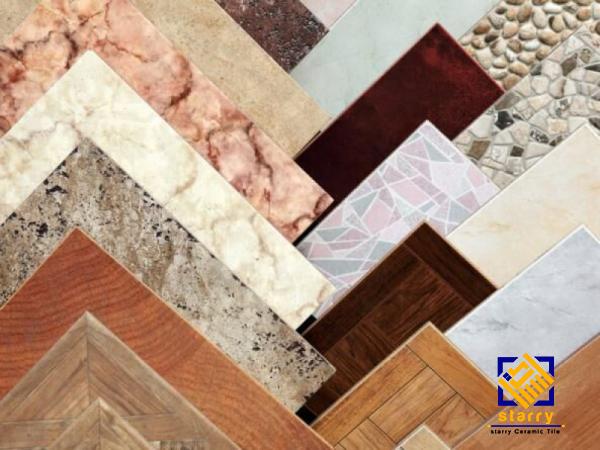
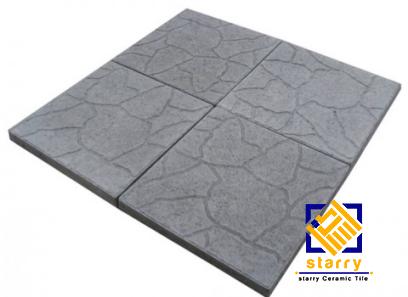
 2. Size and Shape: Ceramic tiles come in various sizes and shapes, each with its own price tag. Larger tiles are generally more expensive due to their increased material and installation costs. 3. Pattern and Design: If you are opting for ceramic tiles with intricate patterns and designs, expect the price to be higher. Customized or hand-painted tiles often command a premium. 4. Tile Finish: Different tile finishes, such as matte, glazed, or textured, also affect the price. Glazed tiles are generally more expensive due to the added layer of protection they offer against moisture and stains. Preparation Method for Outdoor Ceramic Tile Installation: Before installing ceramic tiles outdoors, thorough preparation is crucial to ensure a successful and long-lasting outcome.
Specifications of ceramic tile
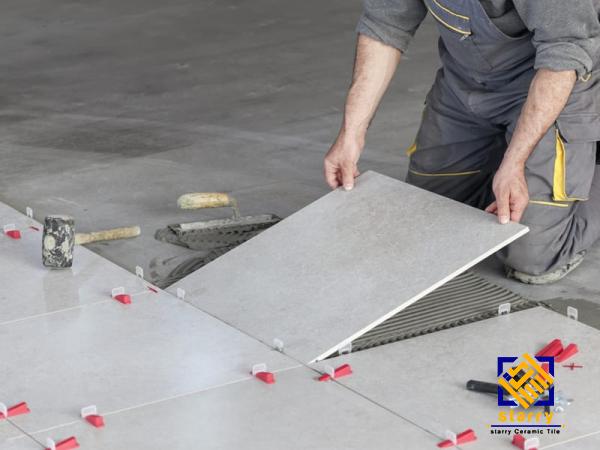
 Follow these steps: 1. Assess the Surface: Examine the area where you intend to install the ceramic tiles. Ensure that the existing surface is structurally stable, free from cracks, and adequately leveled. Any irregularities should be addressed before the installation process. 2. Clean the Area: Remove any debris, dirt, or vegetation from the surface. Sweep thoroughly and use a power washer if necessary. The area should be completely clean and dry before proceeding. 3. Apply Waterproofing Membrane: To protect the tiles from water damage, it is essential to apply a high-quality waterproofing membrane to the surface. This layer acts as a barrier and prevents water from seeping into the subfloor, thus preserving the integrity of the tiles. 4. Plan the Layout: Create a detailed plan of how you want to arrange the ceramic tiles. Ensure you consider any potential obstacles, such as trees or furniture, and plan accordingly. This step will help you determine the quantity of tiles you need.
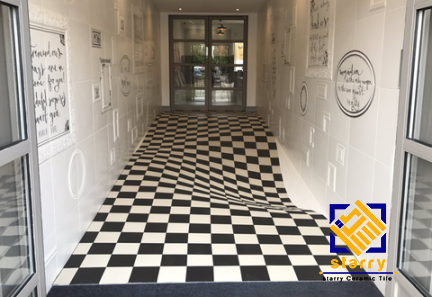
buy ceramic tile
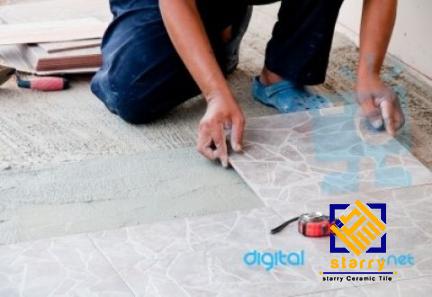
 5. Gather the Necessary Tools: Before commencing the installation, gather all the tools you will need, including a trowel, tile adhesive, spacers, grout, and a tile cutter. Having everything at hand will make the installation process more efficient. 6. Start the Tile Installation: Apply the tile adhesive using a trowel and place each tile carefully, leaving even gaps between them. Use spacers to ensure uniform spacing. Once the adhesive has dried, apply grout to fill in the gaps and create a clean, finished look. Conclusion: When considering ceramic tile outdoor purchase prices, it is important to understand the factors that influence the cost. Additionally, proper preparation is crucial for a successful installation. By assessing the surface, cleaning the area, applying a waterproofing membrane, planning the layout, and gathering the necessary tools, you can ensure a smooth and long-lasting ceramic tile installation that enhances the beauty and functionality of your outdoor space.


Your comment submitted.